Install Applications
Web Application
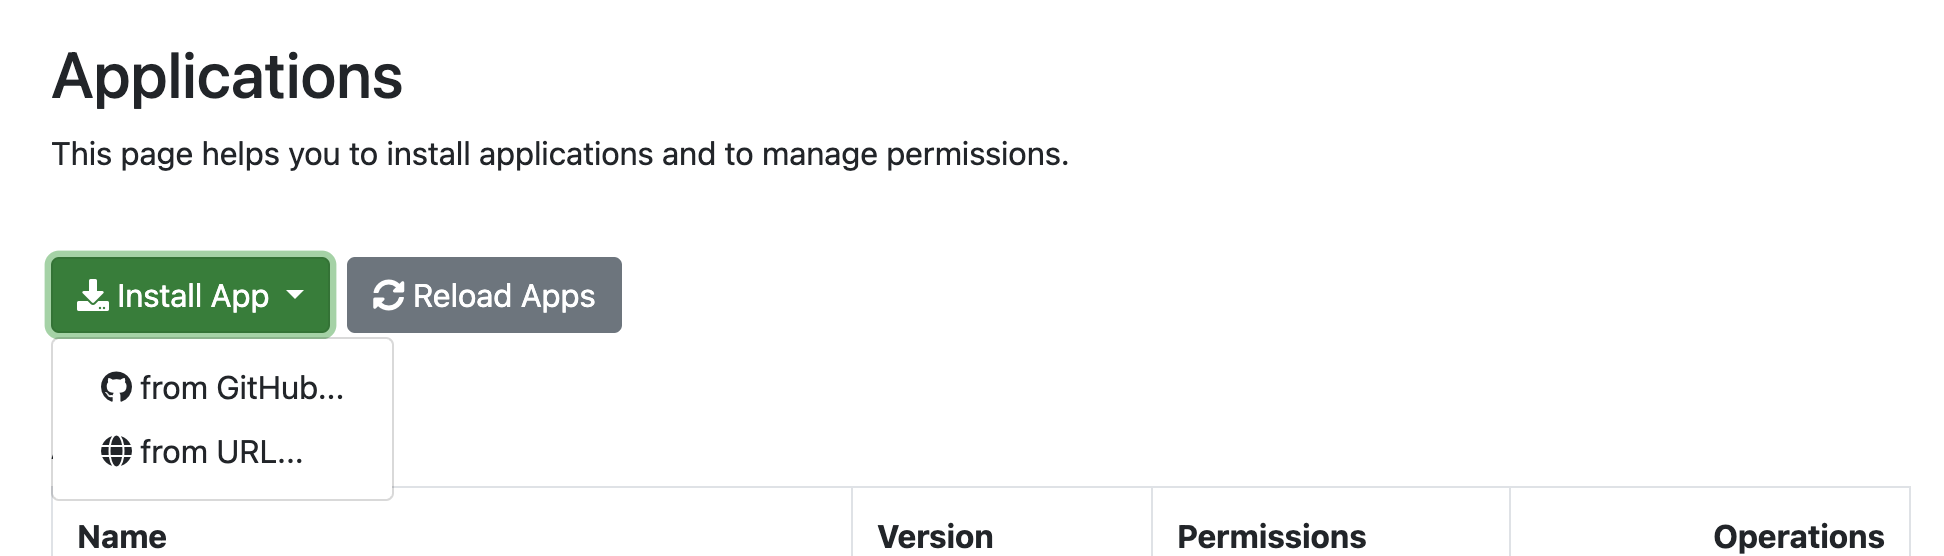
Open the Admin Panel and click on the Applications tab to see all installed applications.
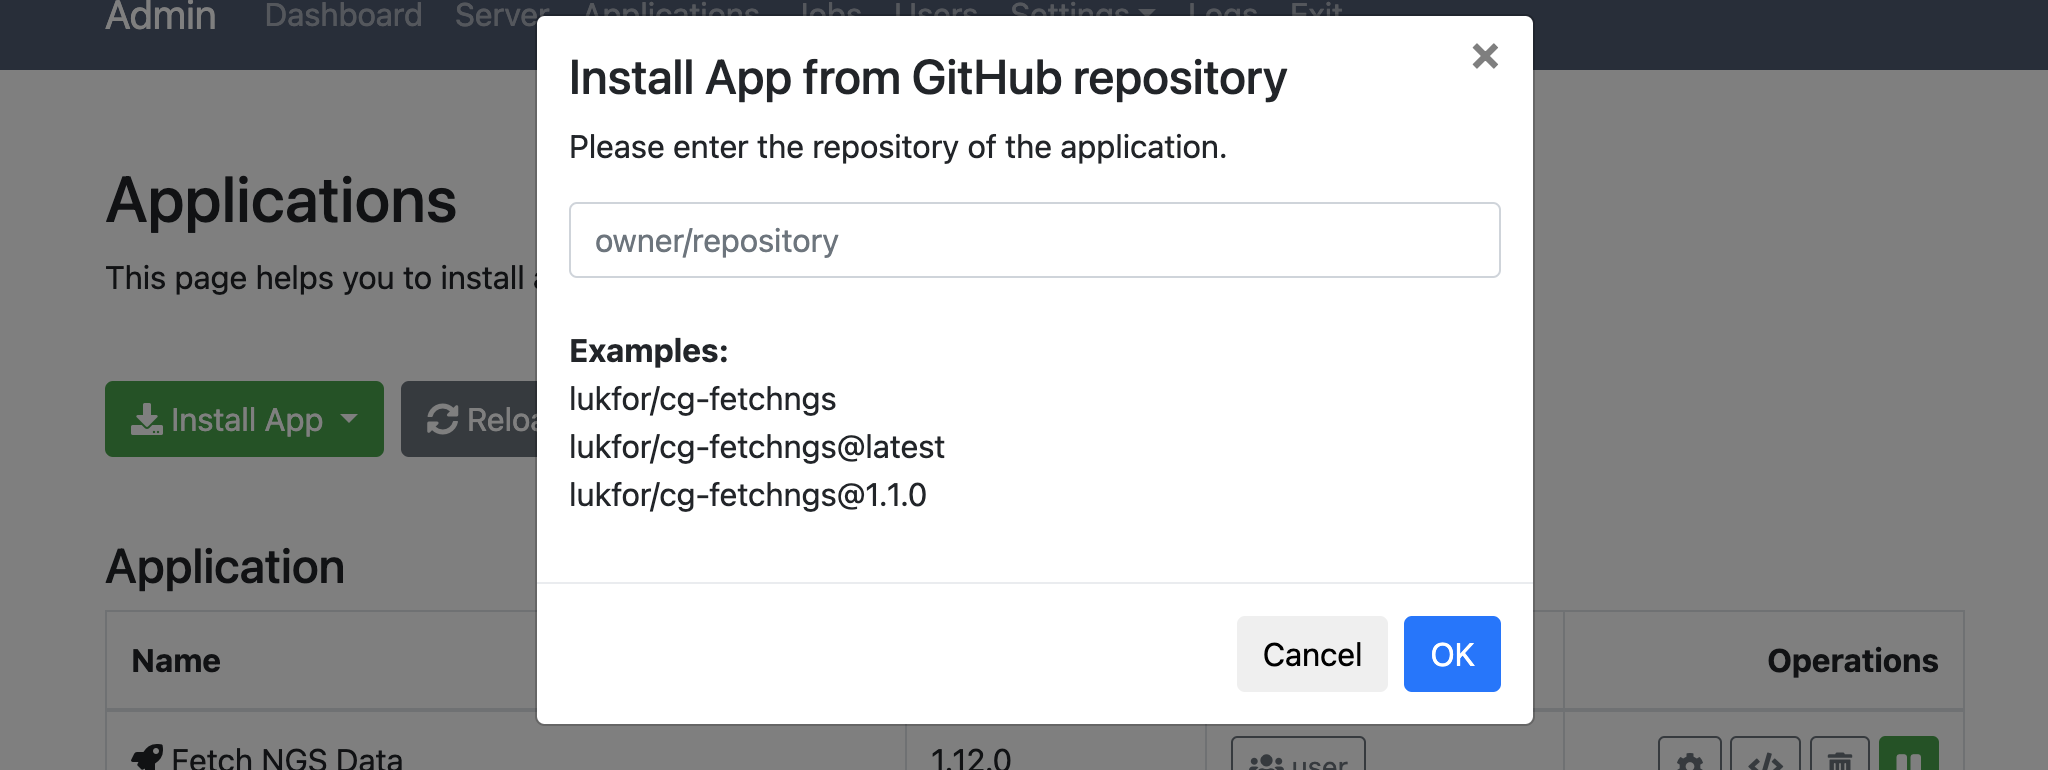
By clicking on the Install Apps button, you can install an application either by entering a URL (HTTP or a local path) or by selecting from GitHub and entering a repository, optionally specifying a version.
Depending on your Internet connection and computer resources, it may take several minutes. If the installation was successful, you should see your application in the Applications tab:
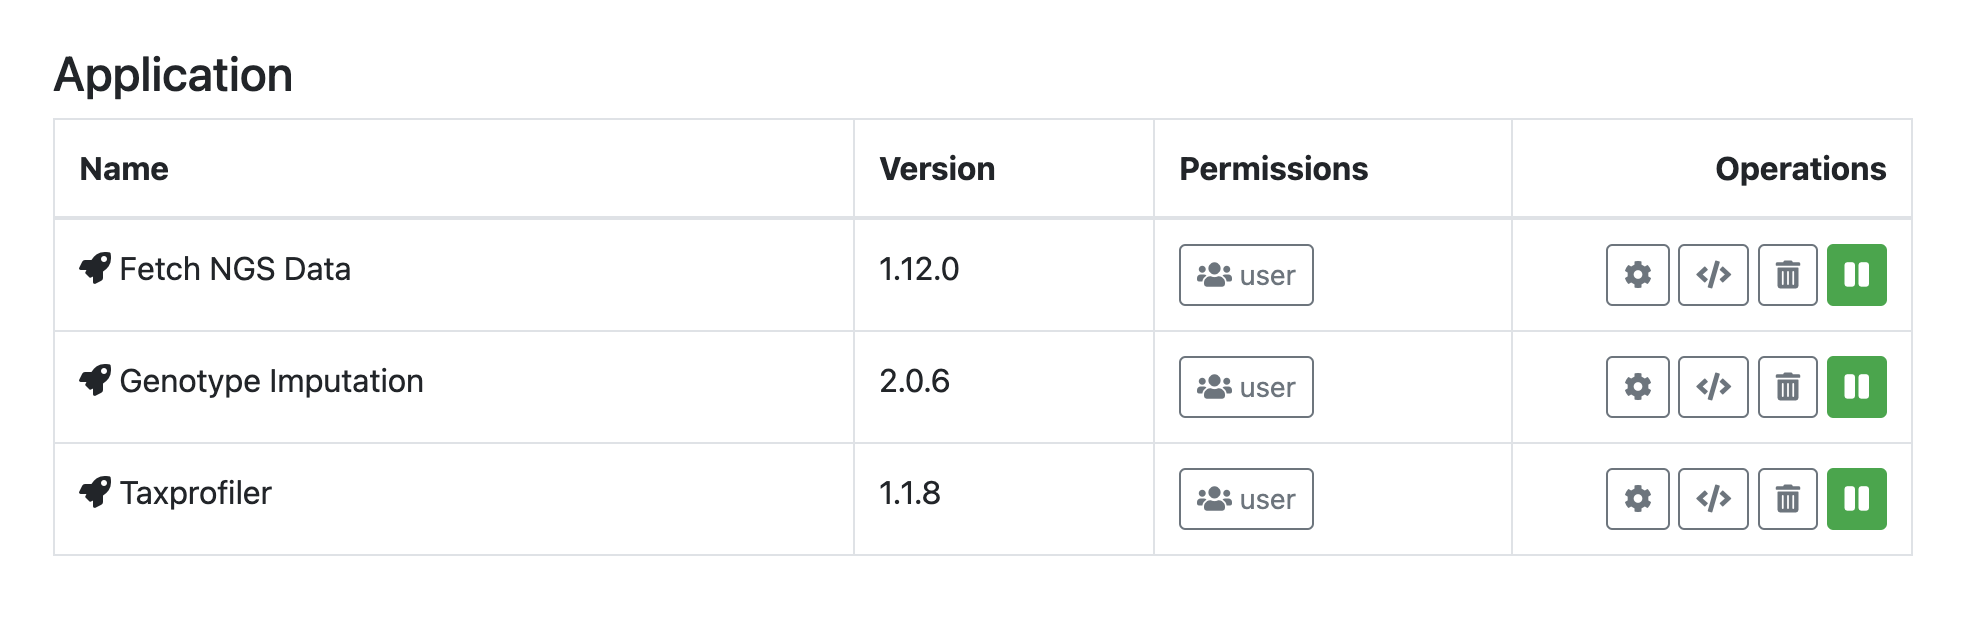
You can click on Disable to deactivate the application or on Uninstall to remove it from your Cloudgene instance. Moreover, you can change permissions to define which users have access to this application.
Command Line
Install an Application
You can also install applications by using the install command. Cloudgene installs all applications in the folder apps.
location can be a zip file or a yaml file accessible via HTTP or located on the local filesystem. For example, the following command installs an application that is hosted on a web server:
You can also install applications directly from GitHub. For example, the latest version of the cg-fetchngs application can be installed using the following command:
To install a specific version of an application, you can specify a git tag:
The IDs are created automatically for all applications (e.g., cg-fetchngs@1.0.0).
List Installed Applications
A list of all installed applications can be shown with the ls command:
This list prints the name and version of an application and shows you if an application has any syntax errors.
Remove Applications
An installed application can be removed with the remove command:
For example, to remove cg-fetchngs 1.0.0: